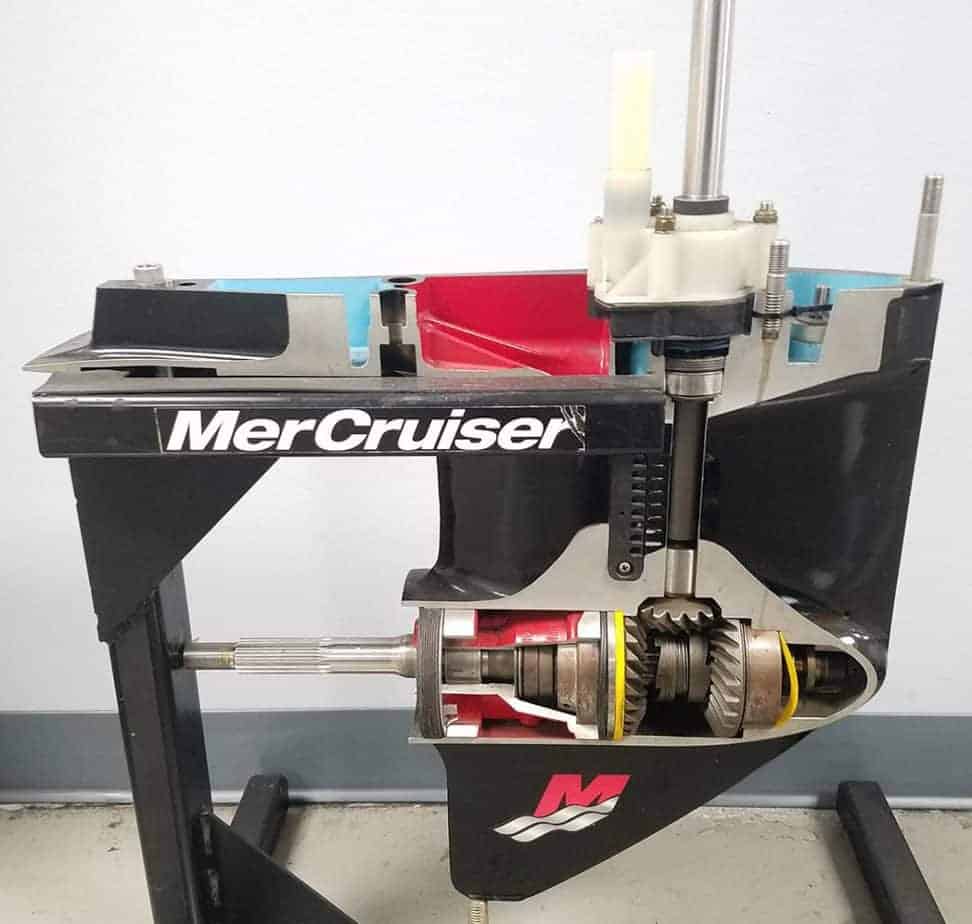
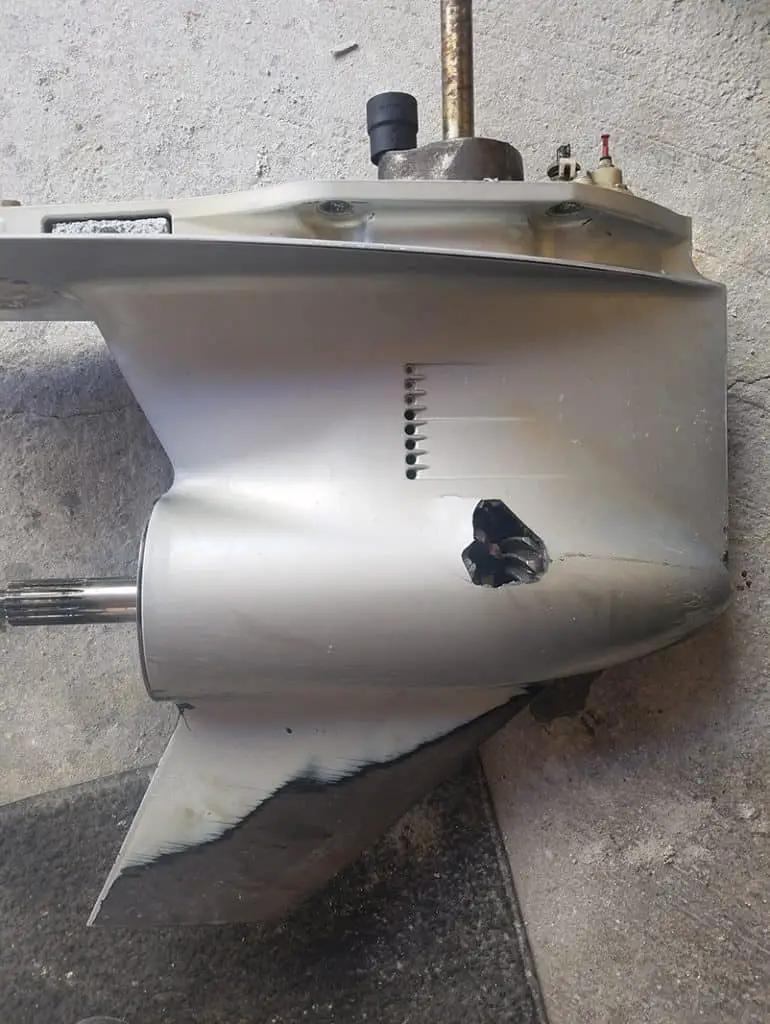
Boat engine gear cases or lower units are super expensive. And they don’t have any kind of warning system to prevent failure. When a gear case develops a leak, it leaks!
So, How To Pressure Test A Gear Case? Remove the lower drain screw & the top vent screw to drain the gear lube. With the lube out, reinstall the drain screw with a seal. Now install the pressure tester in the top vent screw hole and pump up to 10-12 PSI. Spray soapy water around the seals of the drive, shift, and prop shaft. Inspect for bubbles indicating a leak.
If you have water in your gear lube you need to fix the leak. This article will teach you step by step how to pressure test your lower unit professionally!
How To Leak Down Test Lower Unit
In order to resolve any issues with a lower unit or gearcase. We need to figure out where the lower unit is leaking. We do this by performing a leak down test or pressure test.
You can DIY pressure test lower units because it is not a hard thing to do. We are basically going to be putting pressure into the gear case. Then we watch the gauge to see if it leaks down or not.
There are a couple of tricks that you want to know about though.

Yes, you can pressure test the gear case when it is full of gear lube. But we don’t really see a reason why you would do this.
Being because the main reason you perform a pressure test is that when you find water in the gear lube. You will know if the lube has been contaminated based on the color.
Read this article for more information on Gear Lube Colors And What They Mean For Your Lower Unit!
Seeing that there is already water in the gear lube.
Might as well just drain it out and put fresh in! But as far as the process for performing the pressure test.
We just need to remove the bottom drain screw and then remove the top vent screw on the gear case. Let all of the old gear lube drain out of the case.
Then reinstall the lower drain screw and tighten it down with a seal. We will install the pressure tester into the vent. And the reason you want to put the pressure tester into the vent hole.
It is because when if you put it in the drain when you release the pressure. It will fill your pressure tester up with old nasty gear lube! And you don’t want that.
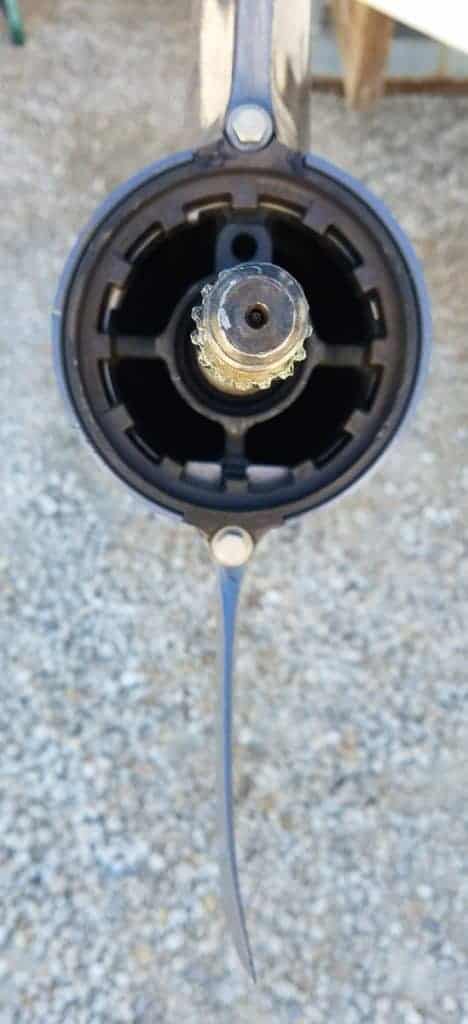
Now just pump up the gear case until you get 10-12 PSI of air into the lower unit. Now with that in there. Take some soapy water in a spray bottle and spray around the driveshaft, prop shaft, and shift shaft seals.
While spinning the shafts and looking for air bubbles. If you do see air bubbles, you will need to change out those seals that you find to be leaking.
Changing seals in a lower unit on a Yamaha outboard.
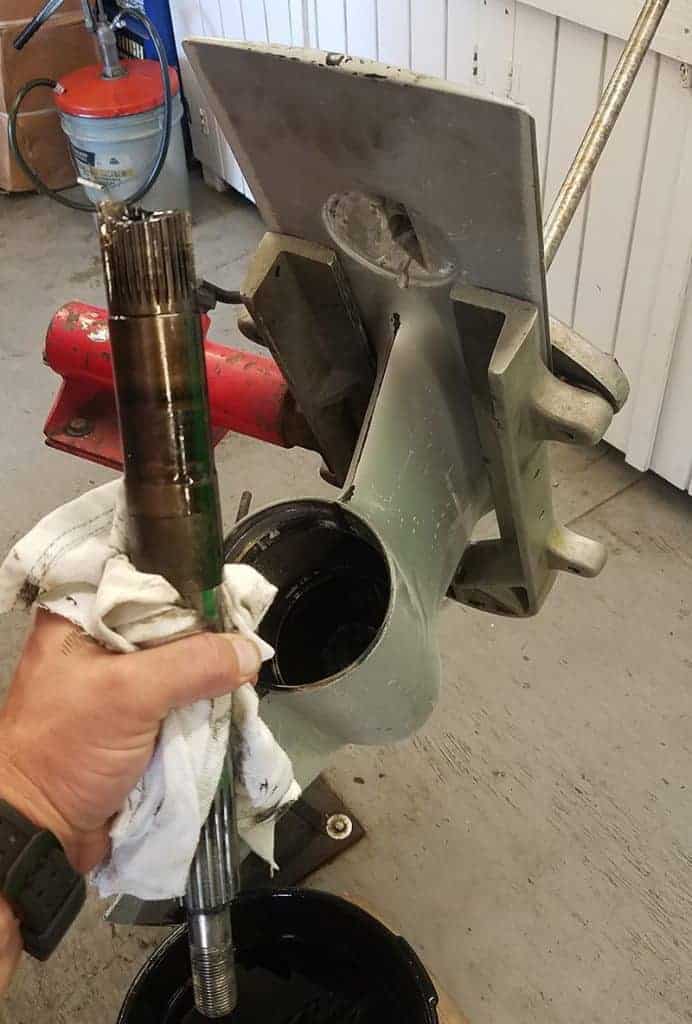
We’ll use the Yamaha because it is a good basic gear case that many other manufacturers have the same procedure to change out the seals. You just need to pull out the seals and reinstall the new ones.
Here is an article showing the exact process for Changing Out Prop Shaft Seals! As well as a video for a demonstration:
Alpha One Lower Unit Pressure Test
Pressure testing a gear case on an inboard like an Alpha One lower unit is basically the same procedure. The biggest difference is going to be in the location of the drain and vent screws.
Just look your gear case over and find the drain and vent screws. Then the process and the pressures are the same as doing it on an outboard.
Gearcase Pressure Testers
There are many different types and styles of gear case pressure testers. Some are cheap and some are expensive.
From Pittsburgh to Snap-On, from Mityvac to Stevens. You can spend as much as you want on a pressure tester or you can make your own. (We will talk about that in just a little bit.

Seeing that there are so many different brands. We personally recommend the Stevens pump. And that is based more on a style than anything else.
The two main styles are the pump style and squeeze style. The pump style will generally be set up to do either pressure or vacuum, but not both.
Whereas the squeeze handle style will generally have a switch on it that will allow you to cycle between the two tests.
We have found that the advantage of the pump style. It allows us to put way more air in at a time and be able to get to that 10-12 PSI in only a few pumps.
Whereas the squeeze style requires 30-50 hand squeezes to get the pressure built up! Which is why we like to recommend the pump style.
You can find both of these pumps on our Resources Page.
Pressure Test Vs. Vacuum Test
We’ve said a lot about pressure testing the lower unit. But we’ve also been talking about doing a vacuum test. So what is a vacuum test and how does it compare to the pressure test?
Well, to be honest. The vacuum test does serve its purpose. But when we are talking about testing a gearcase. In the field, it is rare for us to do a vacuum test on a lower unit.
Simply because if the gear case can hold 12 PSI or more, then it holds vacuum. So, after you perform the pressure test, then the vacuum test. After about 20 tests and the results always being the same.
You stop doing the vacuum test and just continue on with the job knowing that the gear case is in good solid condition. And it won’t be leaking!
How To Build A Pressure Tester
Now, seeing how expensive these testers can be. If you aren’t going to be using your tester on a regular basis. Or at least quite a few times throughout the year.
Then you really don’t want to part with the money for an expensive tool that you will only use once or twice! Which is why there are ways around that.

You will, on the other hand, want to invest some time in making a lower unit stand. Just follow the instructions here to build a quick stand to help you with your lower unit service.
You can make a pressure tester out of any pump. The most common pump used is a bicycle pump. Something that can pump up to 15 PSI is preferred. Then with that pump.
All you need is the adapter that will fit your gearcase. You can buy these adapters at any marina or from Amazon. Then take a hose and clamp it onto the bicycle pump.
As well as the adapter, and voila! You’ve got yourself a lower unit pressure tester! Just pressure test your gear case, fix your issue and you are good to go!
Now that you know all about pressure testing your gearcase! Here are some other articles that we have written that you will find really helpful and informational!
How Long Do Boat Batteries Last? And How to Make Them Last Longer!
Does YOUR Boat Have The Right Propeller? & How To Check!
How To Inspect A Boat Before Buying & Avoid Buying Someone’s Problem!
If you’ve got any questions or comments, let us know by subscribing to our YouTube Channel!
And if you would like to support us to continue bringing you great content, please click the link below to Amazon where we get a commission from anything you are already going to buy!
Click Here To Amazon!
And you can also donate by clicking the donate button here or on the right hand of the screen!
It really helps us out and we thank you so much for your support!
Thanks for reading and we look forward to reading your responses and comments.
We’d also like to invite you to check out Our YouTube Channel! We create all kinds of how-to and DIY videos to help you learn more and more about your boat and how it works!

