0:00
Hello everybody and welcome to the second technicians Tuesday in 2019
0:05
I hope everybody had a Merry Christmas and New Year. Being the holiday season these Tuesdays haven't had a lot of action but today is going to be
0:12
pretty exciting for a lot of you. We'll be changing a flush fitting and a battery and then we will be pulling a Verado
0:18
powerhead so we can change the water seals and drive shaft seals
0:22
So let's get to it. Starting out I had to top off the steering of a joystick piloting boat that we changed three
0:28
steering pumps in for warranty. Then after noticing that the port engine flush
0:33
fitting was leaking, we had to change that as well. Then I had to look at a
0:37
jet ski that wouldn't start. This jet ski had a problem with the key reader
0:41
Sometimes it just doesn't seem to see the key. A little bit of spit usually works
0:45
for that but today it needed a battery. So off to Napa it was. After retrieving the
0:50
battery I got it installed and the thing fired right up. Grab my uniforms and it was off
0:55
to lunch. After getting back from lunch, this is where I was
0:58
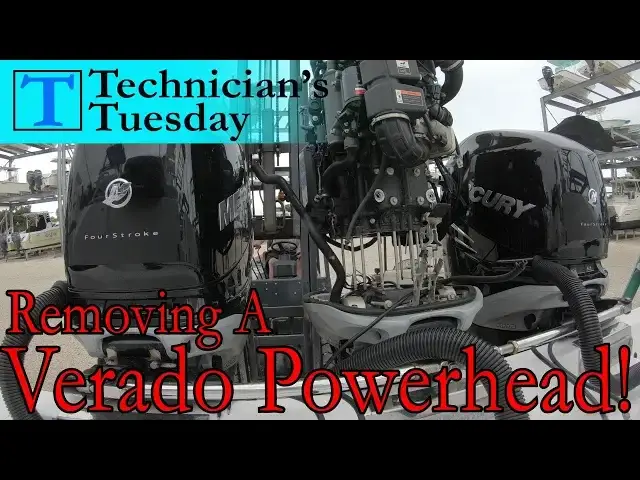
it gets exciting for you guys. This is a 41-foot sea hunter with triple 350 mercury verados
1:04
The trouble is the middle engine is losing oil. I had looked at this sometime back and discovered
1:09
that the drive shaft seals were leaking. Most of the time when a verado is losing oil and you
1:14
can visibly see it in the water or coming out onto the lower unit, it is because the drive
1:18
shaft seals under the powerhead have failed, which means we have to remove the powerhead
1:23
We start by draining the oil. With the oil drain, we can tilt the engine up and remove the lower
1:28
unit. Check the lower unit drive shaft for wear marks at the top. We want to see if something
1:33
is ground a ring or scratch into the drive shaft causing the leak. With no wear marks, we
1:38
continue on by removing the side chaps. On the 350s, there is two Allen bolts holding this
1:43
plastic piece on here in the front, then the 12, 516 inch bolts holding the chaps on. With
1:49
the chaps off we can remove the 10 15 millimeter nuts holding the power head on With those off we will trim the engine back down and start removing what we need on the top side Take the exhaust plenium off the back by removing the two 516 inch bolts holding it on
2:05
then push in on it and push down the yellow tab holding it on and then pull out
2:11
This will get us access to the two 13 millimeter nuts holding the back of the power head on
2:16
Take those off and then disconnect the trim cinder and get it out of the way
2:20
Disconnect the fuel line going to the fuel rail and we always make sure that we don't forget
2:24
this hose here going behind the charge air cooler. That's it for the port side
2:30
Now on to the front side. Remove the 10 millimeter nuts and bolts holding the two pieces here on and then we have to take
2:36
out these 2 12mm bolts under the shift actuator. Some guys leave the actuator hooked up, but you know me if something is in the way, we move it
2:46
So all we need to do for that is to come over here and spin this pin around, then take your
2:50
finger so you can catch the washer and remove the pin. up on the other pin and pull it out. Then just take your finger and get the washer
2:57
from the bottom. There is a 12 millimeter bolt attaching the actuator to the
3:04
shift crank. It is usually really tight and you will think you're going to break it. Just
3:09
have the actuator disconnected and slide it in and break the bolt free. With the
3:14
actuator out, I want to mention that on a 300 and under there is a shift switch
3:18
that needs to be disconnected but on the 350s it doesn't have one. Instead we have to
3:23
remove this water line here which cools the supercharger. Now remove the 12mm bolts
3:30
and the front side is done. Let's move on to the starboard side. Take off the top
3:34
cover and disconnect the thermostat dump hose. Then before derogging we want to
3:39
trim the engine level so that the powerhead can come straight up. Then quickly
3:43
derog the engine. You have the 14-pin main harness, power steering cable, water
3:48
sensor on newer models, boat harness, sometimes clean power, a fuel hose, and a fuel hose
3:53
and the power cables Also on triples or quads you are going to have a can link cable which connects where your yellow or red Terminator resistor normally is Make sure we put some electrical tape on the power cables to avoid any problems
4:07
Now disconnect the trim pump and get the wires out of the way. Then we need to unplug the fSM wire
4:12
It's also very important that we don't forget the two 10 millimeter bolts here on the side
4:17
There is one behind the thermostat dump hose that can get tricky. Then remove the tail tail
4:23
Just stick your finger on it and pull up on the. the hose, then push the fitting into the hose so it doesn't get lost
4:32
Now we are ready to lift this thing up. Using a lifting hook and a good cable, we just lift straight up and off the power head comes
4:46
Set that to the side and let's change these seals. Using a 6mm Allen wrench, carefully remove the chain tensioner, and then this little plate
4:57
here in the back. 516 inch bolts are there, using an 18 millimeter wrench, hold the shaft, and then using
5:03
an 18 millimeter socket, remove the nut holding the oil pump drive gear on
5:15
Now we can remove the gear and the drive gear. Here are the leaking seals
5:28
There is a drive shaft seal on top and two water seals on the bottom
5:32
Clean out the hole and use some clean engine oil to lube up the new seals and press them down
5:37
into place. The water seals go in with the lips facing down and the drive shaft seal goes in with the lips
5:44
facing up. Now we can put everything back together Start by reinstalling the oil pump drive gear and chain stick a screwdriver into one of the powerhead bolt holes and use it to hold the 18 millimeter wrench Then
6:05
torque the drive gear nut down to 59 foot pounds. Then carefully install the chain
6:10
tensioner. There is a spring with a piece pointing down. That needs to rest on the left
6:15
side or towards the aft. Then reinstall the metal plate and we'll put the powerhead back
6:19
on. Working by yourself, you find ways to get the job done. This is a
6:25
bonus here on how to do this by yourself. Get the base gasket in place and then with
6:30
the powerhead close to being on, tie a string to one side of the powerhead bolts. Then loop
6:35
it back and around the bolt on the opposite side. Now you can stand back and lower the
6:39
powerhead down, guiding it with the strings to get the bolts lined up into the holes
6:48
Make sure that the two spaces on the drive gear line up with the two pins on the bottom
6:52
of the powerhead. Then set the powerhead down and then set the powerhead down and then the powerhead until it seats all the way down
6:57
Now we just put everything back together the way we took it apart. Today I got everything back together except for reinstalling the lower unit, side chaps, thermostat
7:06
hose, power cables and the supercharger water hose. But we made good time for a Tuesday afternoon
7:13
And this wraps up our technicians Tuesday. Being the end of the year, I don't have any updates on the venture or our project boats
7:20
but I want to thank you for sticking around with us today and remind you that these Technicians
7:24
Tuesday videos come out every Tuesday at 445 Eastern Standard Time and you get to see exactly
7:31
whatever it is that pulls up to the dock. You never know what we will be working on so get subscribed, hit that like button and let
7:38
us know what you thought of this Tuesday's video in the comments section below
7:42
For some more information about an outboard powerhead, just click the link in the description
7:46
to an article on our website. Enjoy your Tuesday night and we'll see you next week