0:00
Hello and welcome to the Born Again Products YouTube channel where we make helpful and
0:04
thorough how-to outboard service and repair videos. I hope today's video gets you
0:09
through your project and that you will get subscribed for more helpful videos
0:13
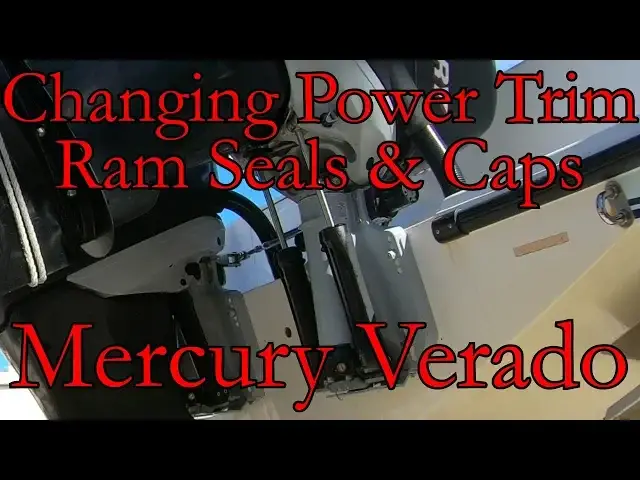
Today we will be changing the power trim rams and caps on a Mercury Vrato
0:17
L6 motor. By the time they need to be replaced the caps are extremely stuck on the
0:21
ram and an air hammer has to be used to remove them. They can be replaced without
0:26
removing the ram but it's almost easier to just remove the cylinder and
0:29
and work on it in a vise, where we can get all of the old and watery fluid out of the cylinder
0:36
First thing we want to do is to get the engine up so we can safely work on it
0:40
Unscrew the manual release valve using a 14 millimeter socket. I suggest using the socket and not even trying to use a flathead screwdriver
0:48
because the valve will easily strip out and is a lot harder to turn
0:52
Turn it out until it seats against the snap ring. Then we can safely and slowly pick the engine all of the way up
0:59
Make sure you have a bucket or something to catch the oil that gets pressed out while doing this
1:03
Also tying some rags around the cylinders will help from spraying water and hydraulic oil all over the place
1:10
Then we need to put the motor stand down. Sometimes they get seized up, so just hit them gently in with a hammer
1:16
And then down in order to get it positioned properly over the engine bracket
1:21
Once that is in place, lower the engine down onto the stand and confirm that it is in place
1:27
Next we need to get the Rams free from the top There is a snap ring holding the pin in as well as a trilope pin here Carefully take a hammer and a chisel and going directly sideways against the trilob pin
1:41
hammer until the pin is out far enough to get the claw end of the hammer behind it to pry it out
1:48
Using a pair of snap ring pliers, pull the snap ring out and then take a six millimeter bolt and
1:55
screw it at least five or six threads into the pin. Then pull the snap ring out, then pull the snap ring out and then take a six millimeter bolt and screw it at least five or six threads
1:57
into the pin. Then pull the pin out using the bolt. On the other side we will need a Torx 27
2:05
to remove the trim cinder. With the bolts out of the cinder, use some good oil to spray around
2:10
the cinder. You can pop the cover off of the cinder very easily so carefully work your way
2:16
around the cinder using a screw driver. Just wiggle it back and forth and spray more and more
2:21
oil to get it to slide out without popping the cover off of it
2:27
Now before removing the 6mm Allen bolts on the bottom of the cylinder, pull the cylinder out from the top so you can remove it after pulling the bolts
2:36
There's a locating pin that can snap off if you try to move the cylinder without the Allen bolts in place
2:42
Now just pull out on the cylinder and watch out for any O-rings that might fall out
2:46
Be careful not to lose any of them. There are three there. You will need this mercury tool or a special tool to reinstall the cap, but we'll use an air hammer to get the caps off
2:56
the caps off. Make sure you have a nice sharp point on the chisel and hold it upward at a slight
3:01
angle on one of the holes Then point slightly in and slowly pull the trigger to get the point dug into the cap to get his nice solid grip on the cap Then as you get it going you can advance the power until the cap breaks free and you can spin it off
3:17
You want to have a pan to catch any oil that leaks out and strongly pull up on the RAM until it pops out of the cylinder
3:24
Then use something to push down on the cup that's in the cylinder pushing all of the old water and oil that is left in it out
3:30
Now we can install the new Raman cap. Put a little bit of grease around the splines and O-ring of the cap
3:36
Get the cap started by hand and once it's down all the way, torque it to 45 foot pounds
3:41
Then we can put the cylinders back on. Making sure all of the O-rings are in place, slide the cylinder back onto the pivot pin
3:49
Install the two bolts and torque them down to 19 foot pounds
3:53
Then with the cylinders installed, remove the cap here on top of the unit
3:57
It is a quarter turn and then you can pop it off. then you can pop it off and slide it up the trim wires
4:02
Fill the unit with either Mercury Power steering fluid or ATF Dextron 3
4:08
Tighten the manual release valve and then run the unit by tapping the upper down button
4:12
and short bursts to get it primed up and then bring the rams all the way in
4:17
Then run them all the way out filling the unit as they come out. Be careful not to overfill the trim unit
4:23
Leave about one inch from the fill neck of the unit. If the unit is overfilled it will pressurize and blow the cap off and start the top off and
4:29
squirt fluid all over the back of the boat. Now watching out for the bushings trim the unit up guiding the rams into the slot on the adapter plate where we can install a pin Grease up the pin and with the oval hole pointing aft install the pin and then push it in the rest of the way with a screwdriver turning it so that the hole aligns where we
4:50
can install the trilob pin. Hammer the trilob pin in, but be extremely careful not to hit the ram and dent it
4:59
which will tear up the new seal. You can cover the ram with something if you need to
5:06
Now install the snap ring back into its slot and with a lot of grease around the trim cinder
5:11
slide it into place. Put the cinder's bolts back in and they are only torqued to 35 inch pounds, so don't overdo it
5:18
With everything in place, run the engine all the way up and down four times, then bring
5:23
it up a little bit and push on the engine. If the rams retract more than an eighth of an inch, there's air in the unit and you'll
5:29
need to run it up but down again, then remove the cap and top it off
5:34
And that's it. We have successfully changed out the trim rams on a Mercury Verado power trim system
5:39
Hopefully you are all done and ready to get your boat back in the water. If this video helped you out, help us out and hit that like button and then get subscribed to the channel where we cover all things Verado
5:49
If you need anything else or have any questions, let us know in the comment section below
5:54
With that, enjoy your time on the water and we hope to see you again. Thank you